Setting up a new TimePunch database
The following pages describe how to set up a new Database and connect it with TimePunch.
Creating a new TimePunch database
In order to create the TimePunch database for the first time, the following steps are necessary.
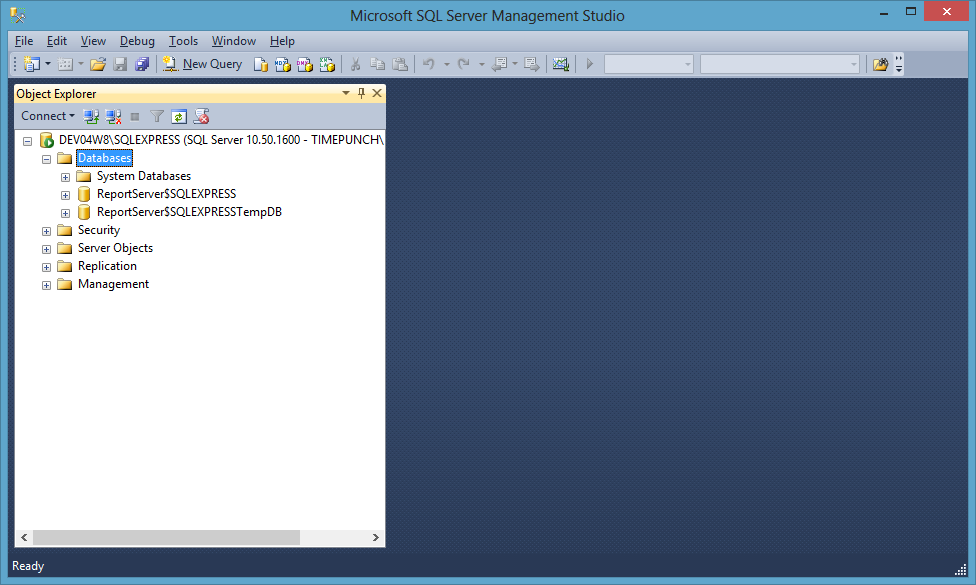
Start the “Microsoft SQL Server Management Studio”
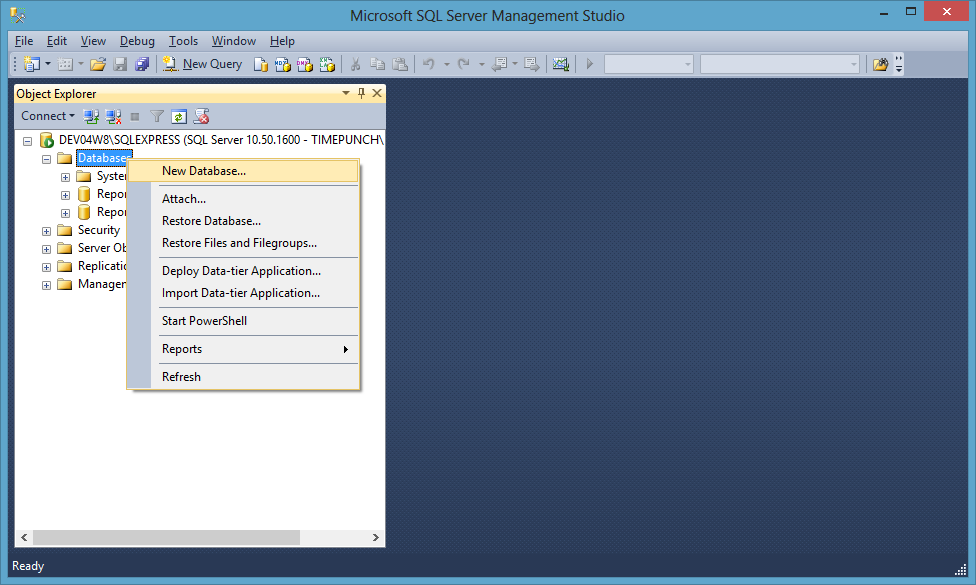
Open the context menu of the databases and choose “New Database”
Select a user defined name for the database to create and define the initial size of the database.
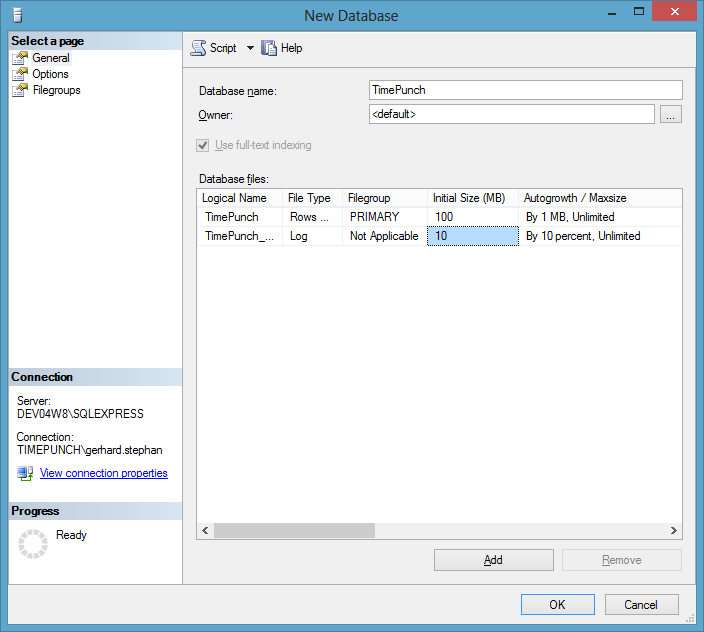
Create the database with “ok”
Creating a new database login
In order to access the database a new login for TimePunch is needed. The login can be created as following:
Open the context menu of “Logins” and select “New Login”.
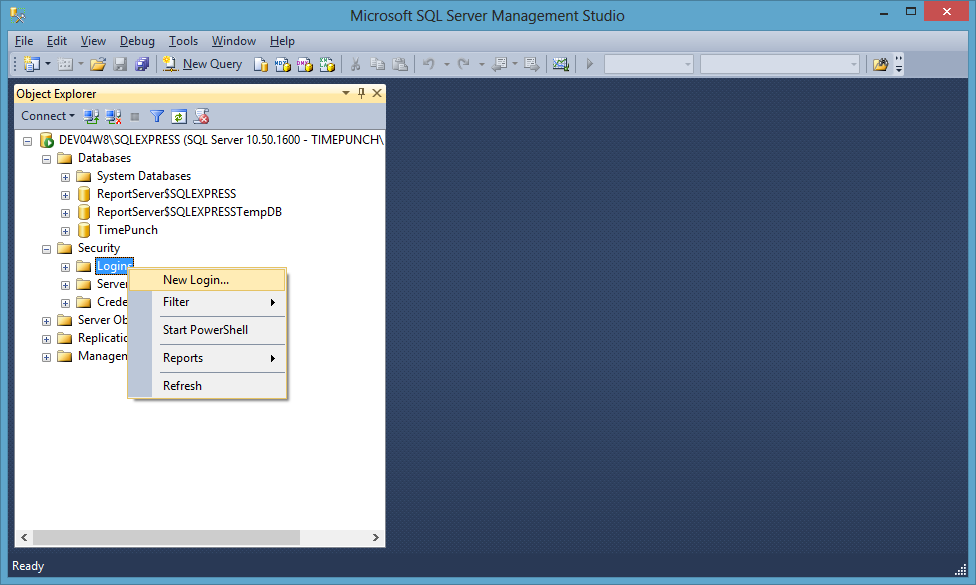
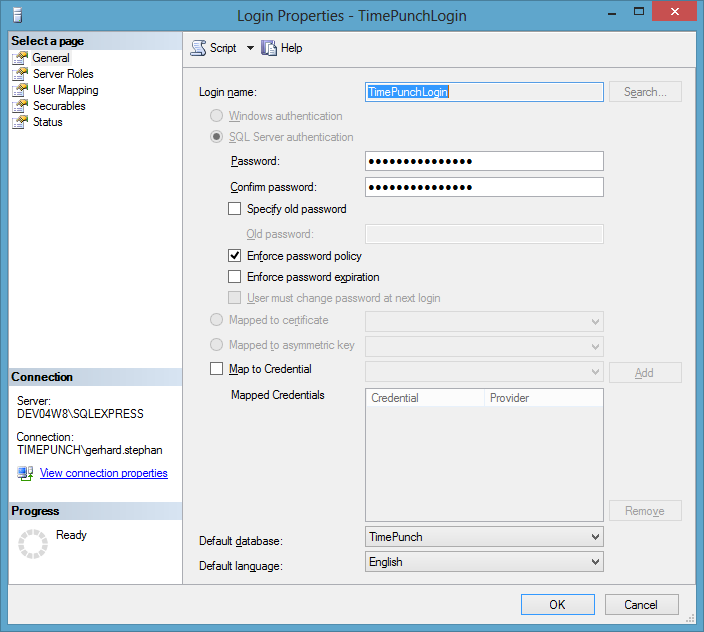
After that choose a new login name and select the previously created database as the default database for that login. Additionally the password expiration should be disabled, because otherwise one will be forced to update all TimePunch clients with a new password in order to establish the database connection.
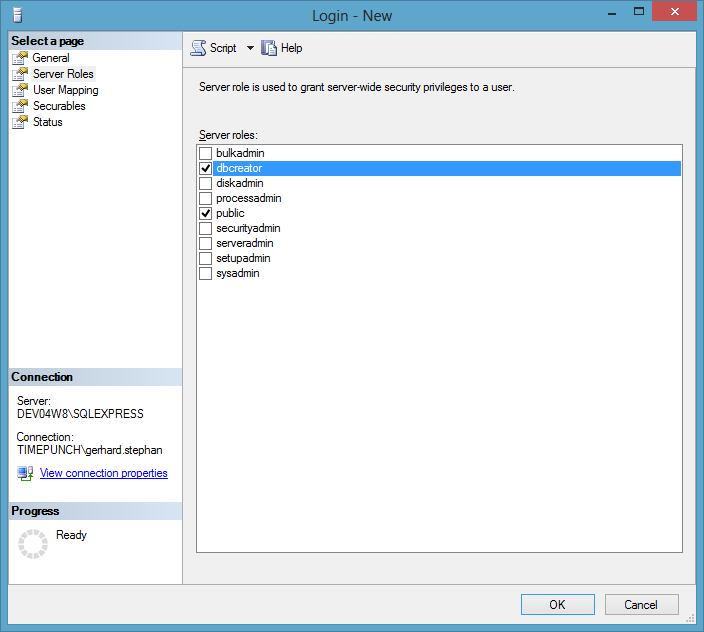
Within the page “Server Roles” the role “dbcreator” needs to be applied.
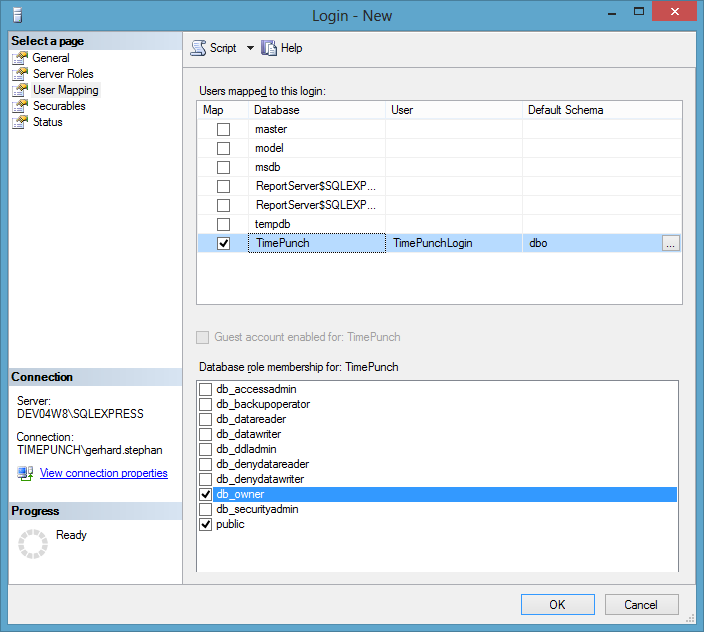
At the page “User Mappings” the new database login needs to be connected with the database user “dbo”. Additionally the role “db_owner” must be applied.
Initialize the Database with the TimePunch Server
If one uses the TimePunch Server the database can be initialized by using the administration-pages of the TimePunch Server.
In order to allow TimePunch the access to the Microsoft SQL Server database, the database connection needs to be applied in the menu “DATABASE / CONFIGURATION”.
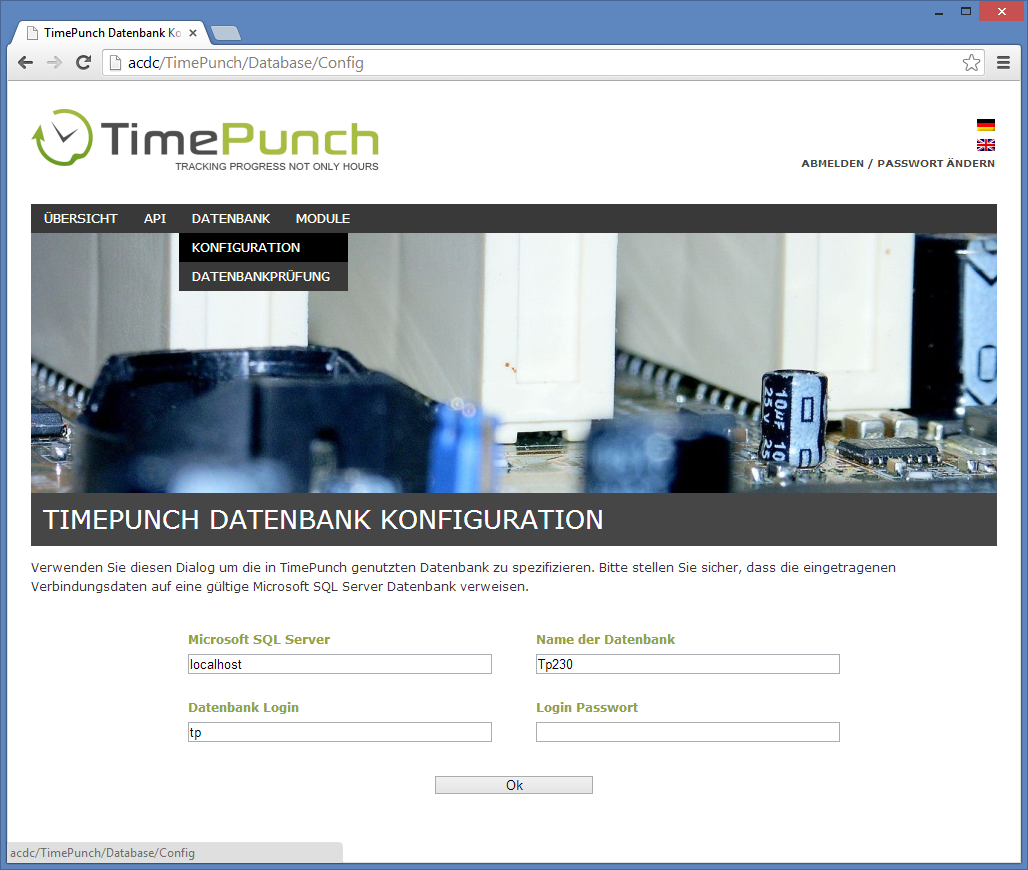
After the input of the database connection and the confirmation with “ok” the database connection gets validated.
In case of a new and empty database a first initialization is necessary. The following dialog will display this information.

By clicking to “yes, start the database update now”, the database will be set up and filled with static data.

After finishing the integrity check the database can be used with TimePunch.