Integrating into the network
Integrating the Datafox time recording device into the network
- Office terminals
- Industrial terminals
Press and hold the logo (5 seconds) to enter the device setup.
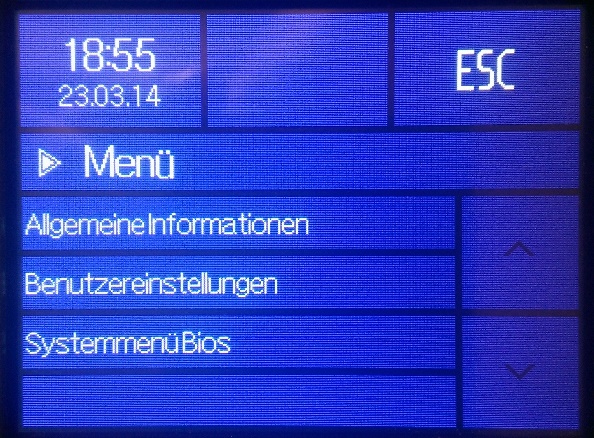
The BIOS password is required to open the BIOS system menu. The 4-digit password must be entered and confirmed with Return.
The BIOS password is sent with the device.
After the BIOS system menu has opened, switch to communication and interrupt communication.
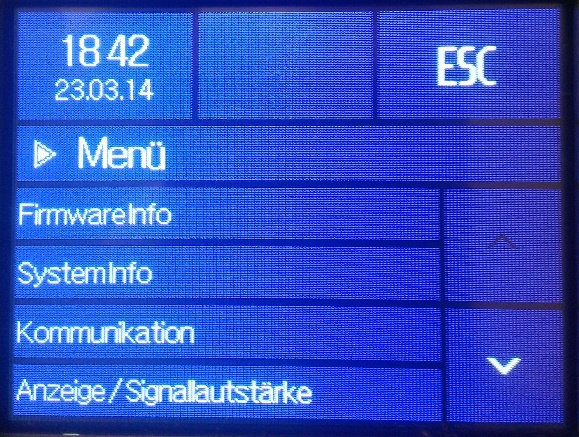
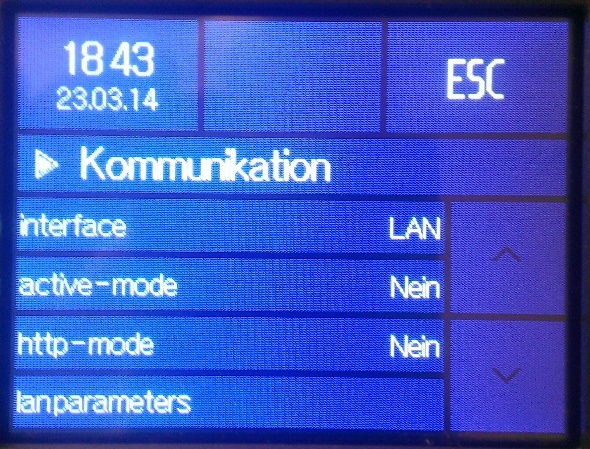
Now first select the LAN or WLAN interface and then switch to “lan parameters”.
At this point, the IP address of the DataFox device is set. If the address is to be obtained dynamically via a DHCP server, “0.0.0.0” must be set as the IP address. The specific IP address assigned by the server can then be determined at the DHCP server.
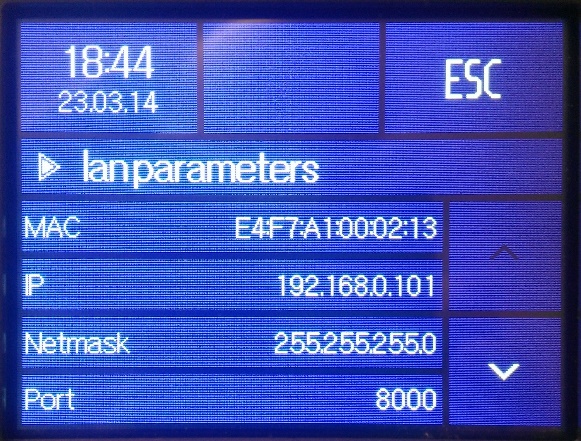
Then close all dialogues with ESC and restart the PZE EVO.
Pressing the up and down arrows at the same time takes you to the device setup.
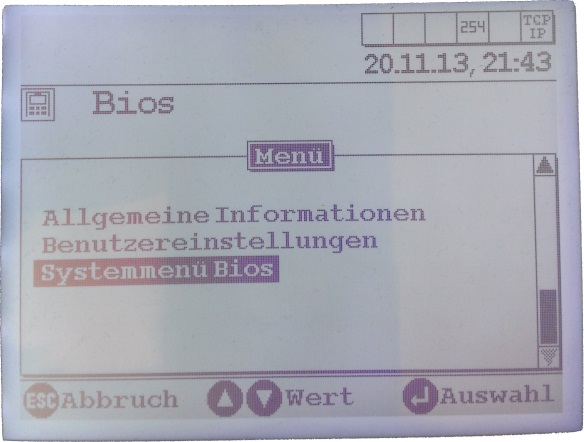
The BIOS password is required to open the BIOS system menu. The down and up arrow keys are used to determine the number. Advance to the next digit using the Go symbol. Move back using the Come symbol of the time recording device.
The BIOS password is sent with the device when it is delivered.
After the Bios system menu has opened, switch to communication and then interrupt communication.
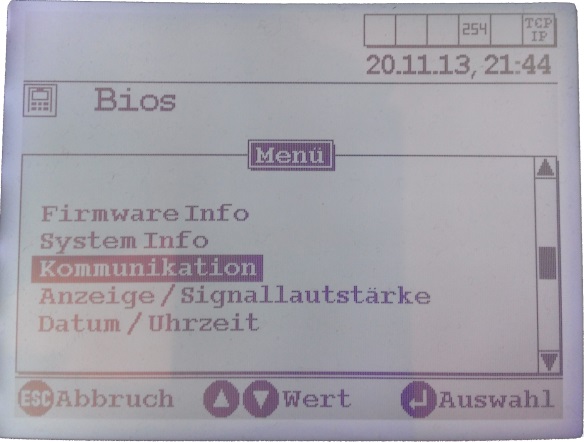
Now select the TCP/IP interface and then switch to the "TCP/IP" menu item.
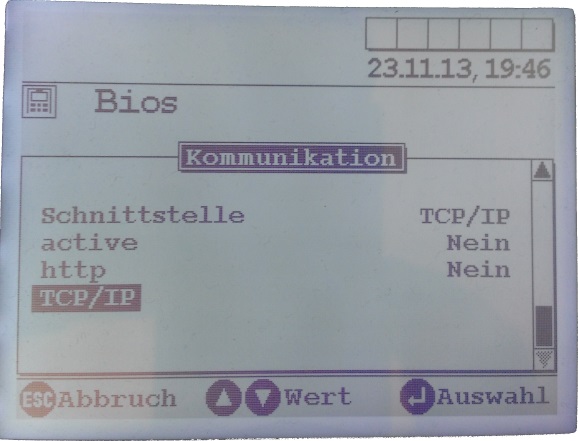
Then close all dialogs with ESC and restart the PZE Master.
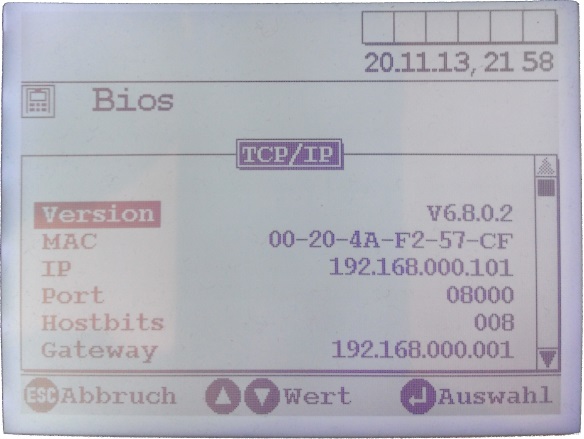
At this point, the IP address of the DataFox device is set. If the address is to be obtained dynamically via a DHCP server, “0.0.0.0” must be set as the IP address. The specific IP address assigned by the server can then be determined at the DHCP server.
Alternative configuration via the web interface
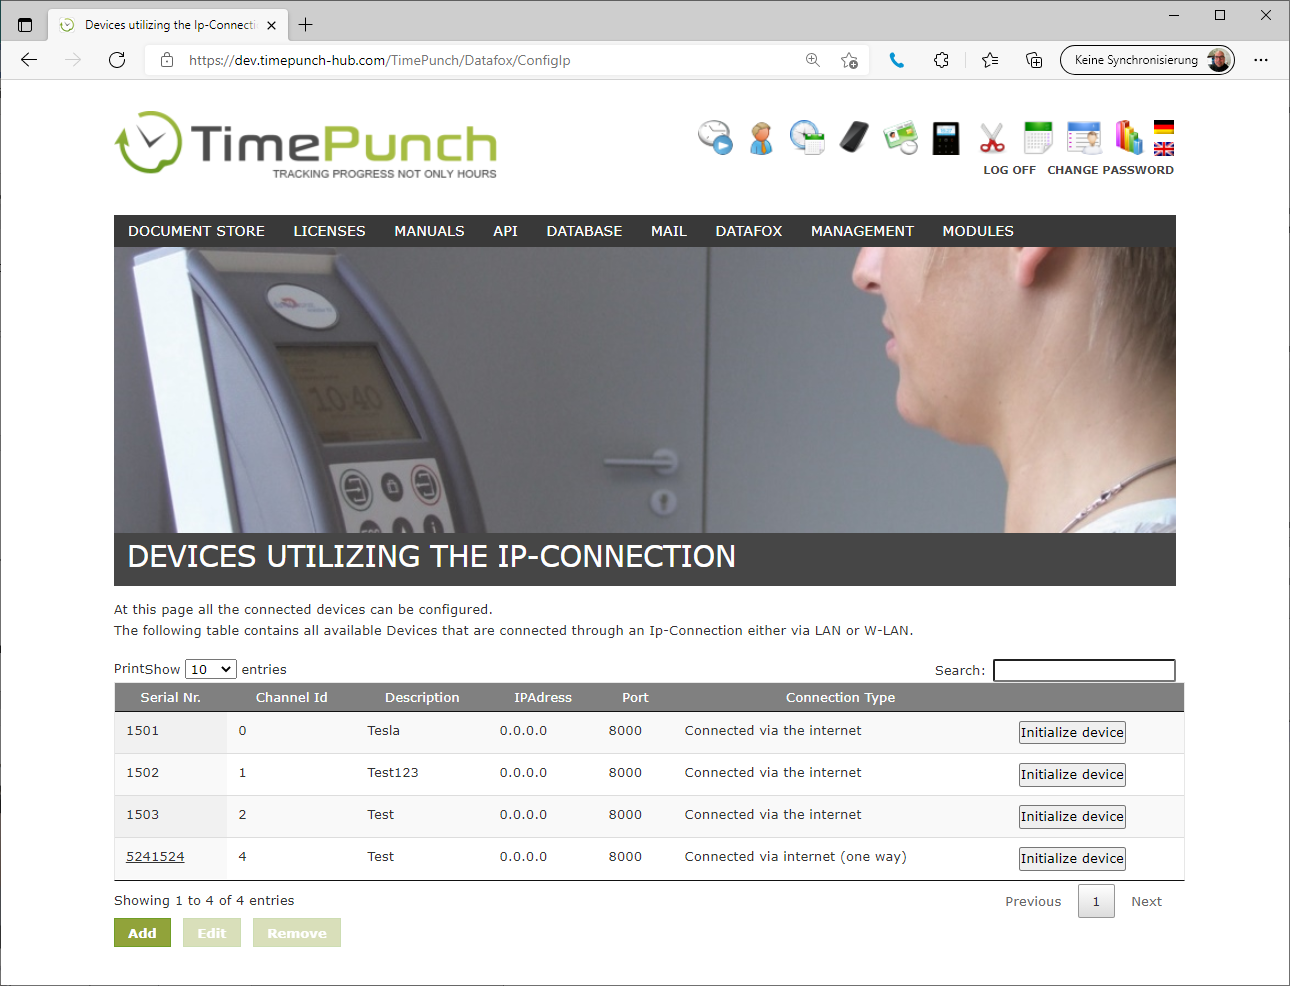
The time recording devices can not only be created in the Windows client, but also directly in the web interface. This is done via the menu item "Datafox / Configuration" in the application server.
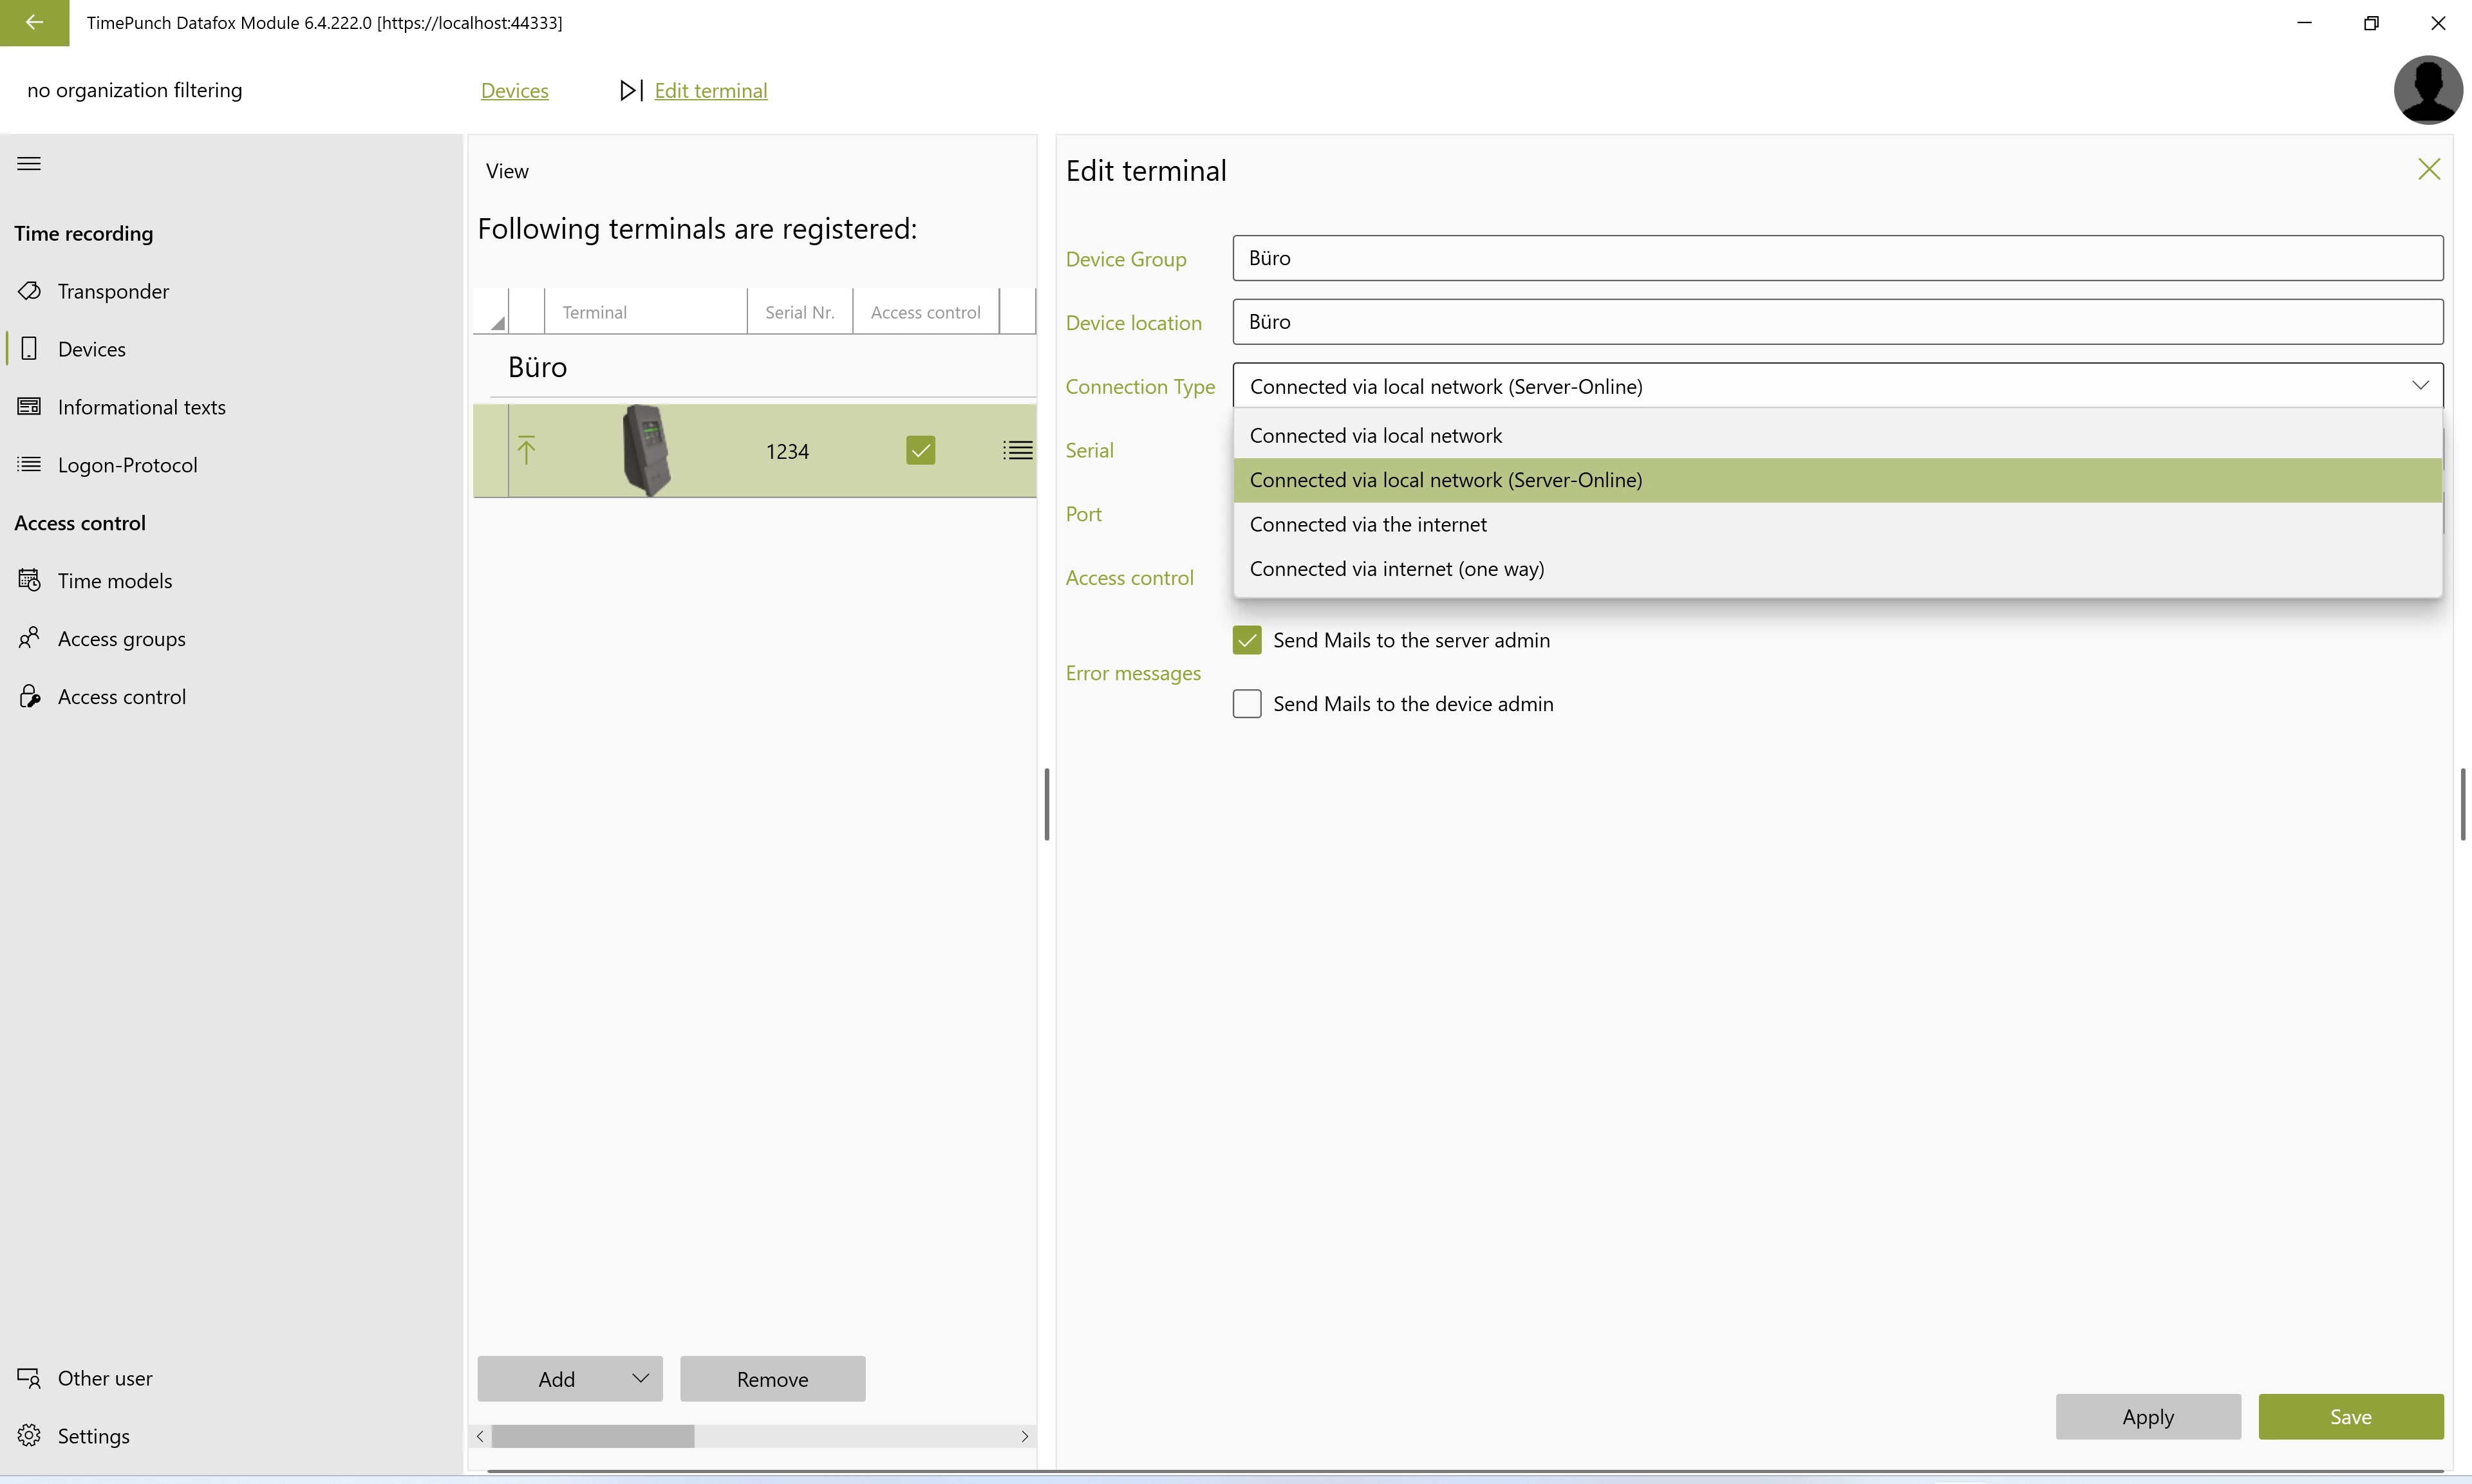
Server Online Connection
With the Server Online Connection, locally installed Datafox time-tracking terminals remain connected to the TimePunch server via the network. Unlike regular server-initiated queries, the terminal and server can exchange information directly.
Clock-In and Clock-Out Entries via Different Recording Methods
The server online connection is particularly helpful when employees record their working hours both at the Datafox terminal and via the online module.
With the previous Smart Tag technology, the attendance status was stored on the RFID transponder. If a clock-in or clock-out occurred outside the terminal—for example, checking out via the online module—the status on the transponder could not be updated. This could result in an incorrect clock-in or clock-out entry the next time the employee clocked in or out at the terminal.
With the server-online function, the terminal queries the TimePunch server directly for the current attendance status before recording a time entry. This ensures that the entry is correctly recognized as arrival or departure—regardless of how the previous entry was recorded.
Upgrading Existing Terminals
If you would like to upgrade an existing Datafox terminal to the Server Online connection, please contact TimePunch Support. We will work with you to review your existing devices and assist you with the upgrade.